Video Of Liquid Measurement
The Meaning of Volume of Liquid
Volume of liquid refers to the capacity of liquids in the containers. Capacity can be measured by using non standard units (more or less) and in standard units in millimeters (ml) and litters (l) in the metric system. Investigations amount of liquids which can be poured between containers of different shapes and sizes. Exploration of capacity or volume of liquid involves manipulation of containers of various sizes that may either be collected or purchased for classroom activities. A cheap way to do the activities is to have your students collect some containers such as mineral water bottles, soft drink cans, vases etc which can be found around them.
Teacher can display those collections of containers in a learning centre for students to explore capacity measurement. Every learning centre should have at least a standard graduated measuring cylinder in liters and millimeters. This is to enable the students to measure volume of liquids especially in standard units.
Teaching activities for high achiever students.
Learning Outcomes;
By the end of the lesson, pupils will be able to measure and compare volume of liquids by using non-standard units correctly.
Teaching Aids;
Different sizes of containers, a pail of water,
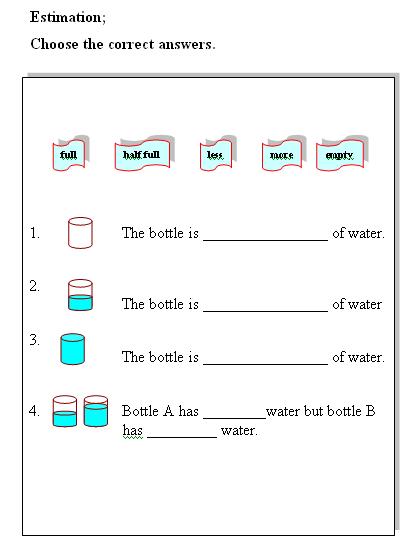
Vocabulary;
more, less, empty, half full, full
By the end of the lesson, pupils will be able to measure and compare volume of liquids by using non-standard units correctly.
Teaching Aids;
Different sizes of containers, a pail of water,
Vocabulary;
more, less, empty, half full, full
Procedures;
1. Divide the pupils into group of four to do work in their cooperative learning.
2. Appoint one student to be the recorder in the group
3. Give each group 5 set of containers of different sizes, a pail of water and a small cup as the measurement tool.
4. Each group will record the number of cup needed to fill the water in every containers into the form given.
5. At the same time, also teach the pupils estimation such as half full, full and empty
Conclusion;
For this activities pupils will bear in mind that the volume of liquid will be determined based on the
containers used. The more bigger containers the more quantities of water is needed to fill in.
Table 1: Measure volume of Liquid using non-standard unit.


Learning Outcomes
By the end of the lesson, student will be able to make a mental switch to metric by pouring, measuring, and creating a handy chart to compare volumes.
Teaching Aids;
Different sizes of containers, a pail of water, water bottle, makers, colored pencils
Procedures;
1. Divide the pupils into group of five to do work in their cooperative learning and appoint one student to be the recorder in the group
2. Each group was given a water bottle and five different measuring tools such as cups and containers with printed volume amounts. Student is appointed to fill the containers with water.
3. Students have to find out how many of each of the container did they think will need to fill the liter bottle and write they estimates with colored pencils.
4. They have to mark water levels. One container at a time, use a funnel to pour water into the liter bottle. Draw a line on the bottle with markers to show the water level for each container. Choose a different color for each measurement. Keep notes for your color key. Continue filling, counting, and emptying the measuring tool into the bottle until you have one liter. Compare these findings to their estimates. Empty the bottle before experimenting with another measuring tool.
5. Make a chart. Use scissors to cut poster board as tall as the liter bottle and about twice as wide. Lay the bottle on the poster. Extend the lines from the bottle on to the cardboard using the same colors. Label the line such as 1 cup, 1 pint, 1 liter and 1 quart. Then use glue, attach the bottle to your chart. Air-dry the glue.
6. Finally, ask student to display their product and present it in front of their friends.
Safety guildline:
Adult supervision is required for any arts & crafts project. Observe children closely and intervene as necessary to prevent potential safety problems and ensure appropriate use of arts and crafts materials. Some craft items, particularly beads and buttons, are potential choking hazards for young children. Avoid use of such small parts with children younger than 3 years. Craft items such as scissors, push pins and chenille sticks may have sharp points or edges. Avoid use of materials with sharp points by children younger than 4 years. Read all manufacturers' safety warnings before using arts and craft supplies.